Example: A basic template, step by step — Importing HTML : 6. Create a basic journey
In the previous step, the email template has been tested/previewed from the Content section.
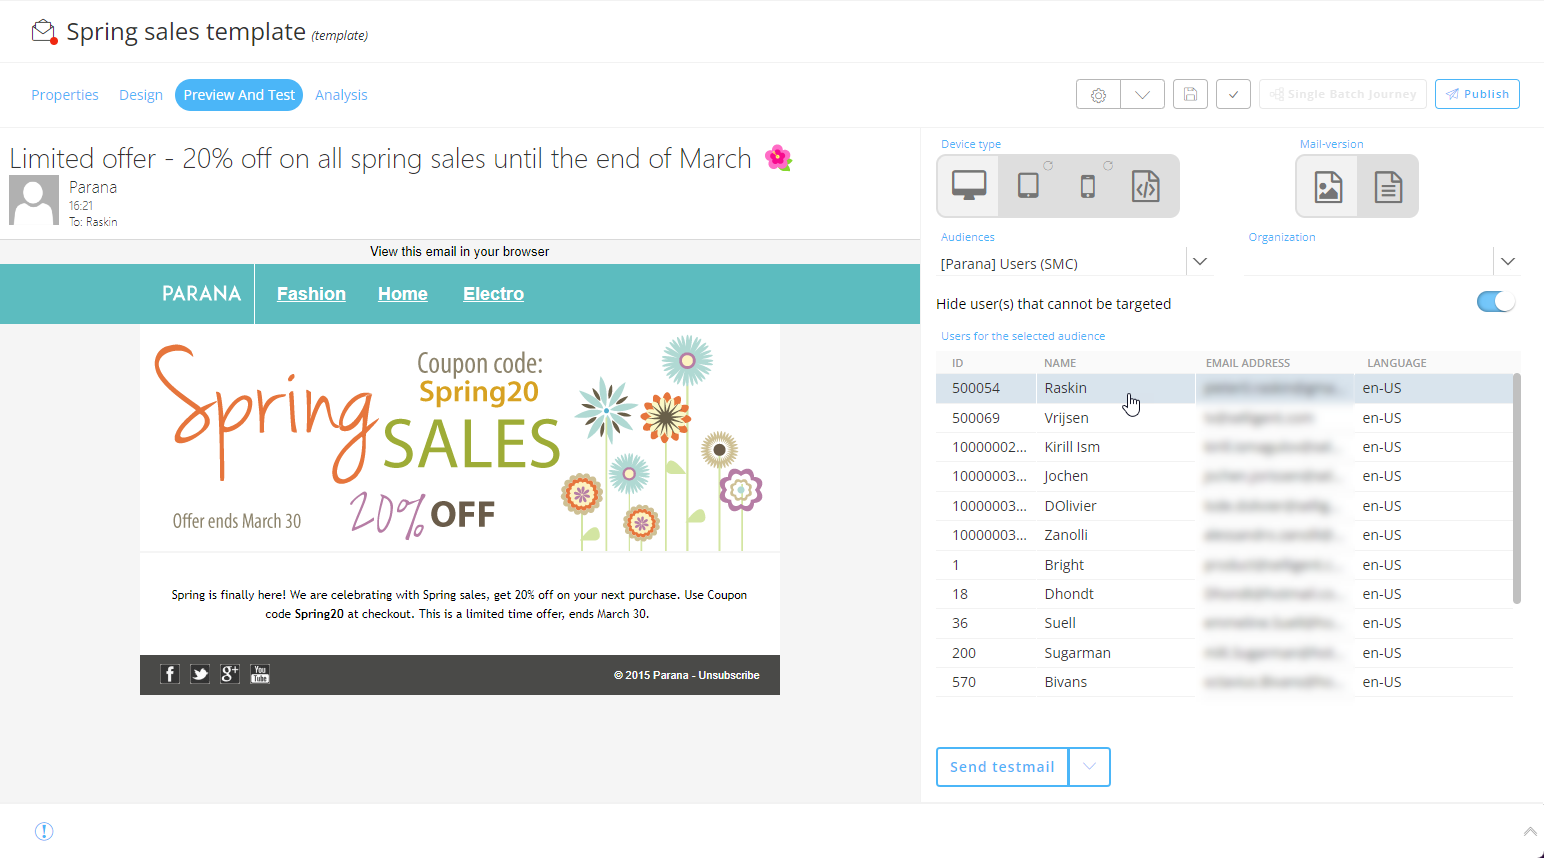
We'll now create a basic journey and send out the email template to contacts who live in the United States or Belgium.
Create a journey
There are different types of journeys.
We'll create a Single Batch Journey (other types are Single Batch AB Journeys, Transactional Journeys, Recurring Batch Journeys, Custom Journeys).
A Single Batch Journey can be created from the Journeys section, or directly from the email in the Content section.
We'll choose the second option.
In order to do so, our final email needs to be saved, validated and published (if not validated, publishing it will also show any validation errors).
Note: If any validation errors occur, they are shown in red.
Warning are shown in yellow (and they don't prevent you from publishing an email).
After publishing the email, you'll notice that the 'Single Batch Journey' button becomes enabled.
This means that the publish process has been executed successfully and a Single Batch Journey can now be created directly from within the email.
Execute the following steps :
-
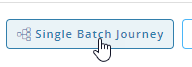
Click on the 'Single Batch Journey' button.
-
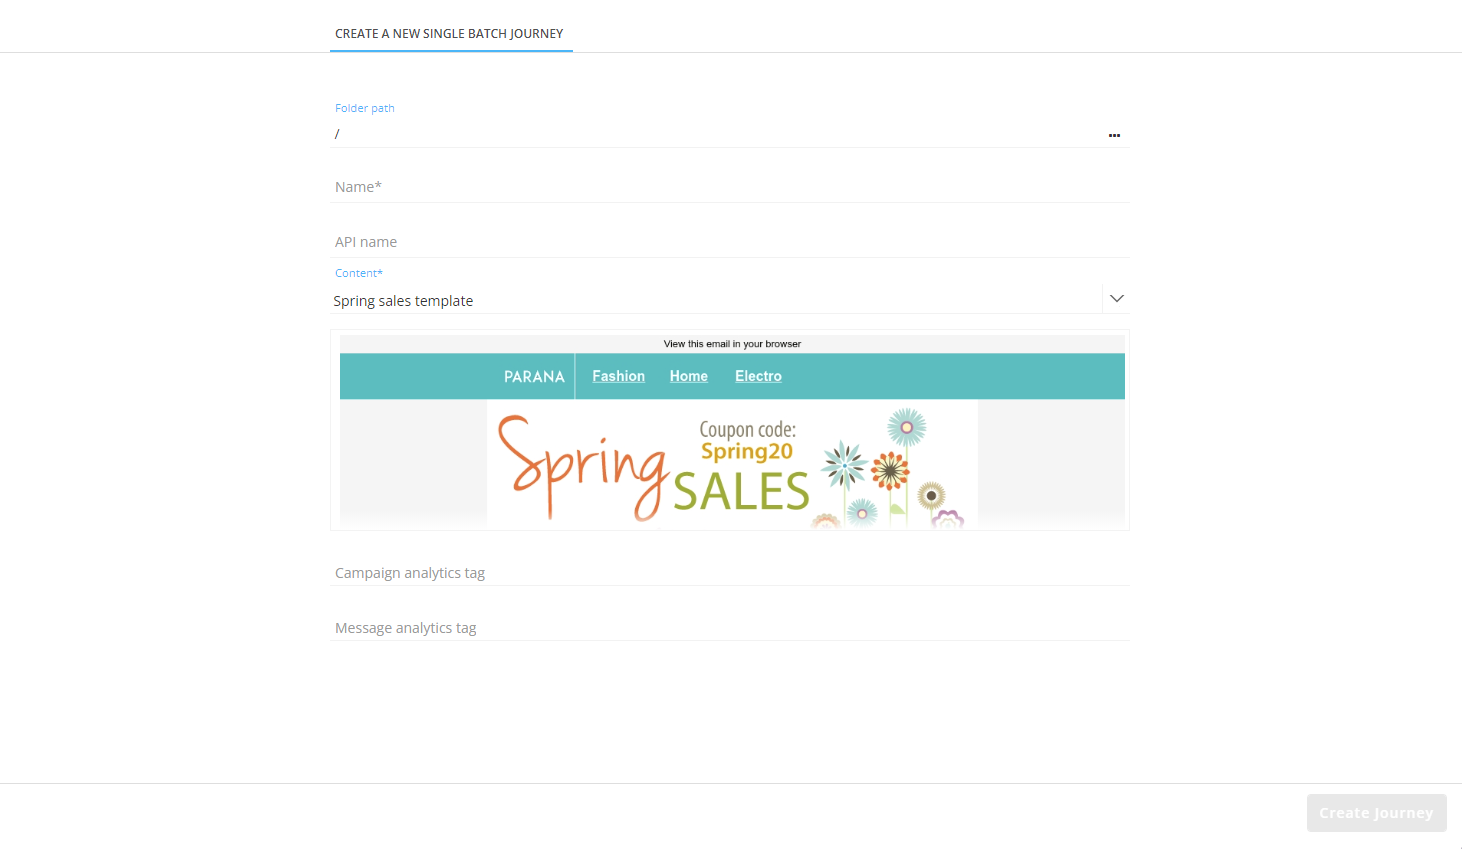
The following screen is shown.

-
Enter a journey name; for example 'Spring Sales journey 2'.
(The API name will be filled automatically while you type the journey name.)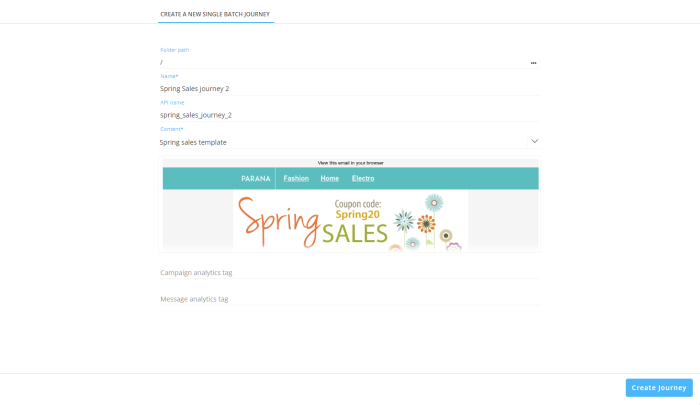
-
Click 'Create Journey' at the bottom-right.
-
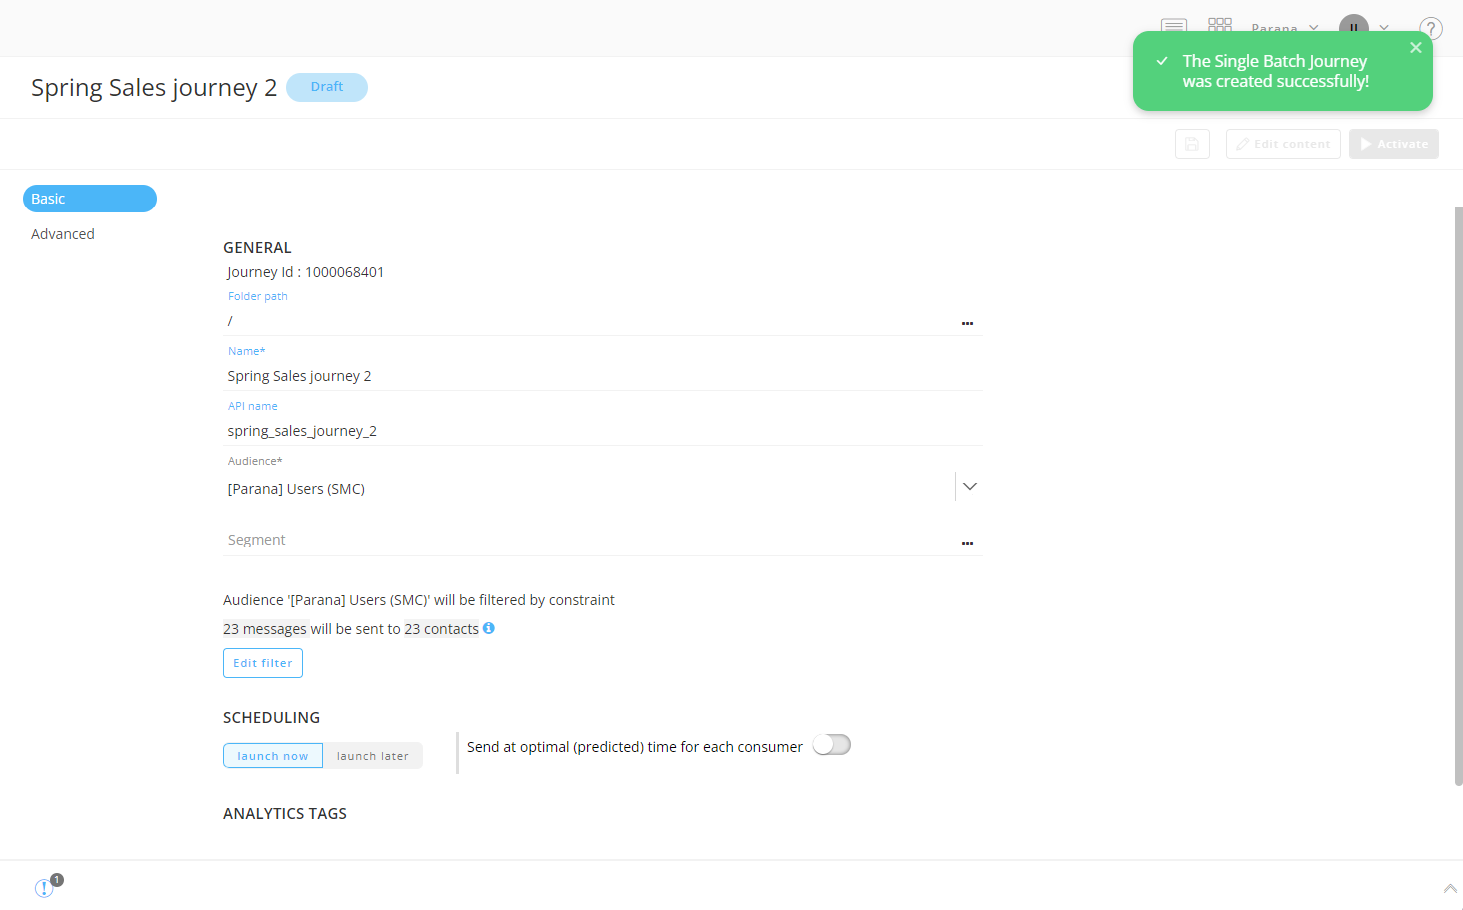
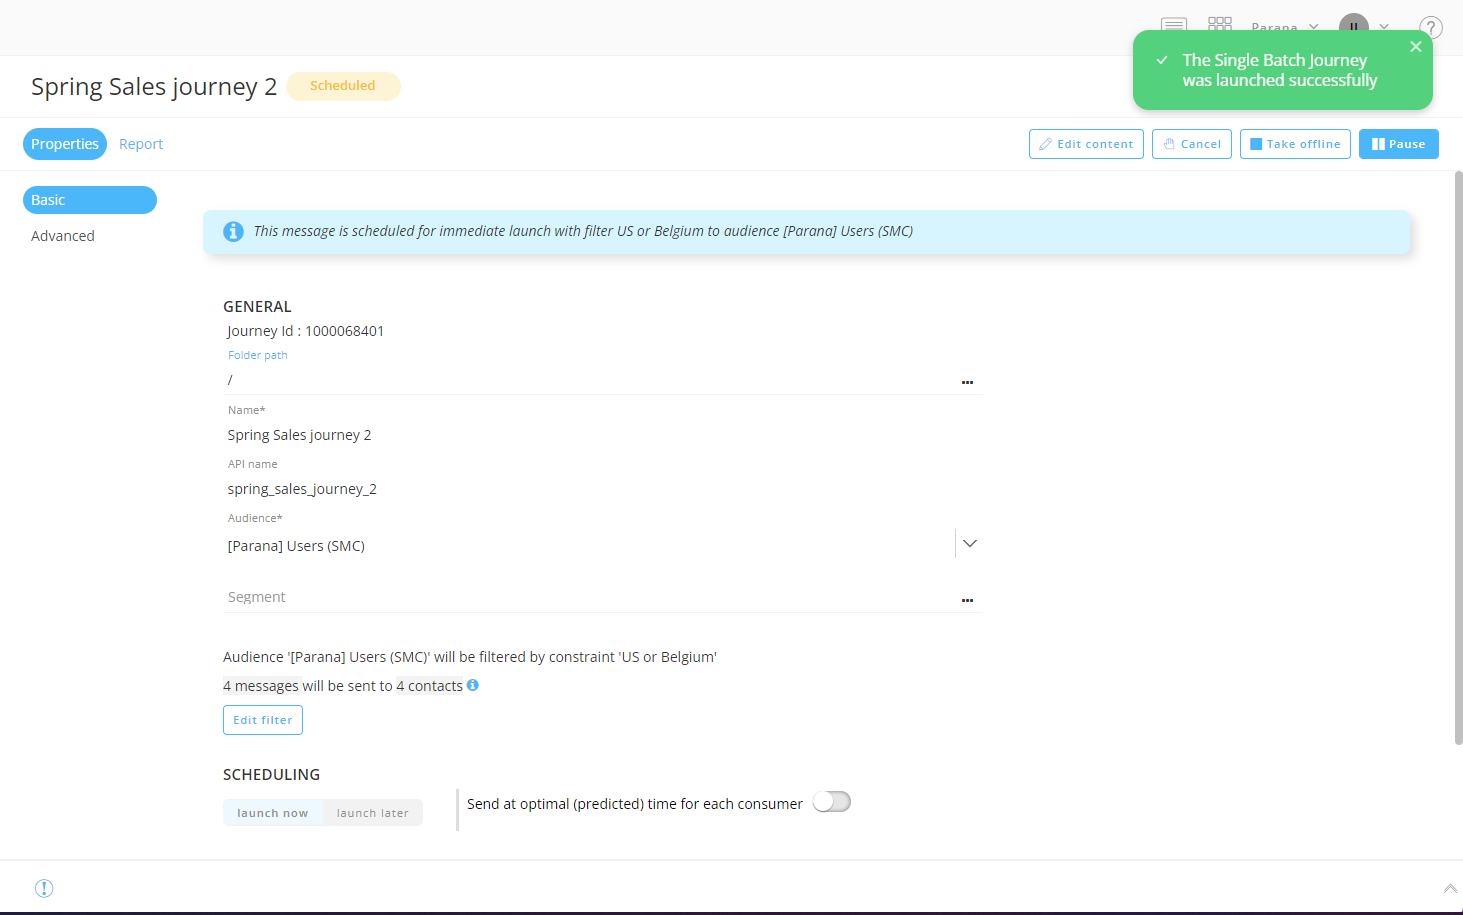
A confirmation will be shown, and the journey details are shown on the screen :

Notice that in the validation pane at the bottom, there's a warning saying 'No constraint is defined for the audience filter', which means that if we would activate this journey now, the email would be sent out to the entire audience.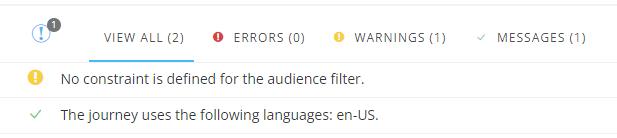
-
As we only want to send the email to contacts who live in the United States or Belgium, let's set a constraint to achieve this.
- In our example, the total number of contacts in the audience is 23.
- To create an audience constraint, click on the 'Edit filter' button.
- Set a constraint as follows :
(Constraint type - List - Field - Operator - Value)
Audience - Master - Country - is equal to - United States
or
Audience - Master - Country - is equal to - Belgium
- After clicking 'OK', the audience constraint will be applied and an automatic re-calculation of the target audience takes place.
You'll notice that the number of targeted contacts has decreased to 4 in our example.
See the video below, showing the constraint setup :Note: The 'country' field must be available in the targeted Audience List and must contain values for contacts, to properly configure and use the audience constraint above.

We could schedule this journey to be launched at a later date and time, or at and optimal (predicted) time for each contact.
But we want to launch it immediately on activation, so we'll keep the default 'launch now' setting.
Note: To get detailed information about all basic and advanced settings in Single Batch Journeys, consult this topic.
Save the journey.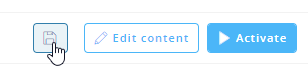
Edit the template content
You can click on the 'Edit content' button to edit the email template's content that is used for this Single Batch Journey.
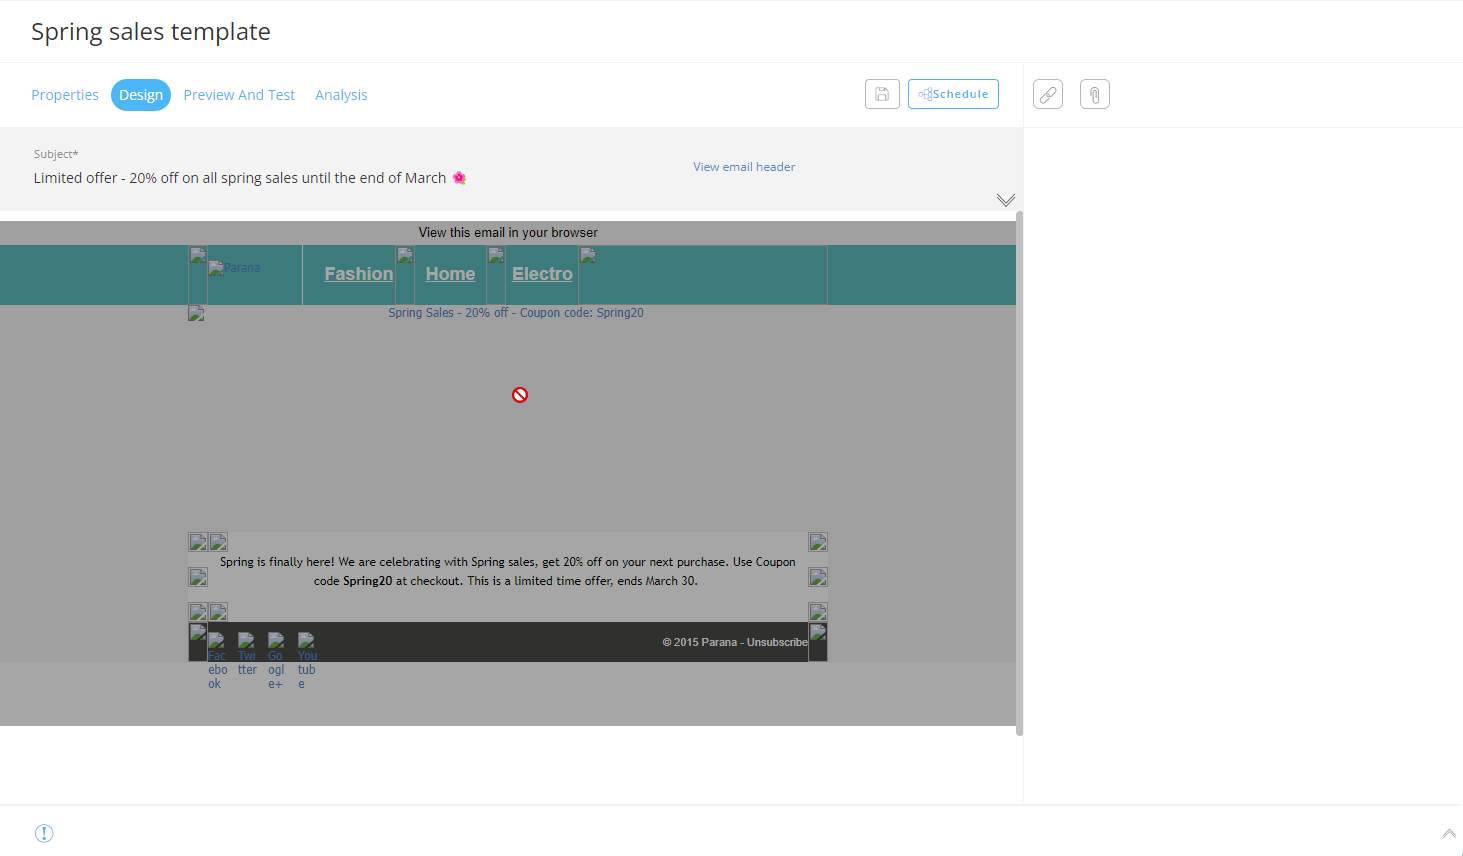
If we do this in this example, we'll get the content editor again, but as we locked all components when creating the initial email template, no content can be updated at this point (when hovering over the content section, it's greyed out and the mouse cursor turns into a prohibition sign).
If we would have set certain elements to 'unlocked' when creating the initial template, that content would be accessible and adaptable at this point, before sending it out through the Single Batch Journey.
More info about editing unlocked content can be found here.
The Single Batch Journey is ready to be activated now, to send out the email, based on the template, to the filtered contacts.
Send out emails through the journey
To get the journey in an 'active' state, so it actually sends out the email to the targeted contacts, the 'Activate' button needs to be clicked.
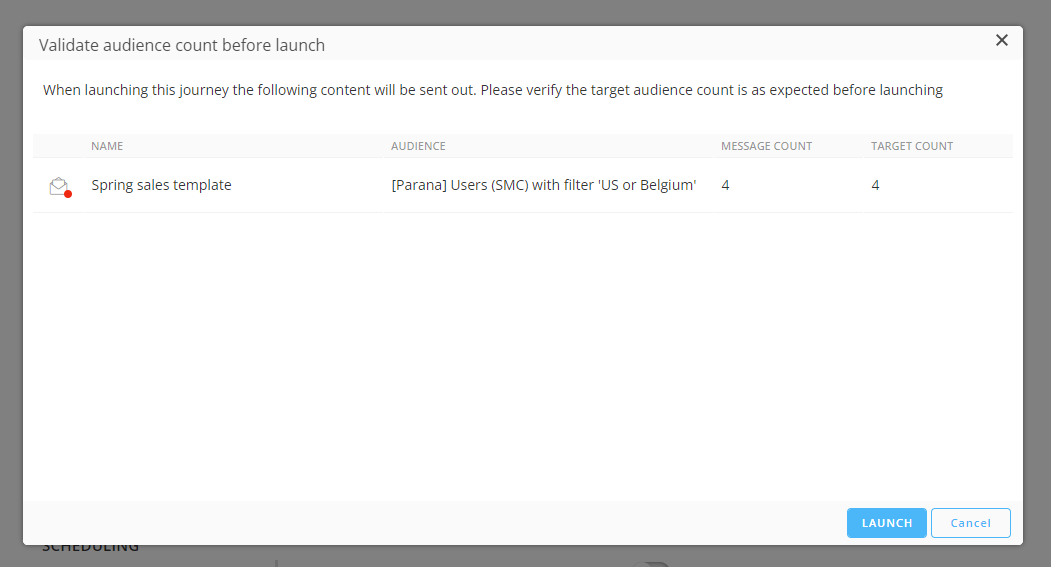
A validation pop-up appears to verify if the target audience count is as expected.
If that's okay, click the 'Launch' button :
A confirmation is shown.
The journey is activated, and in 'scheduled' state.
As we used the default 'launch now' scheduling option, it will immediately send out the email to the targeted contacts, who will receive the email in their inbox.
The state of the journey becomes 'executed', and info is shown :
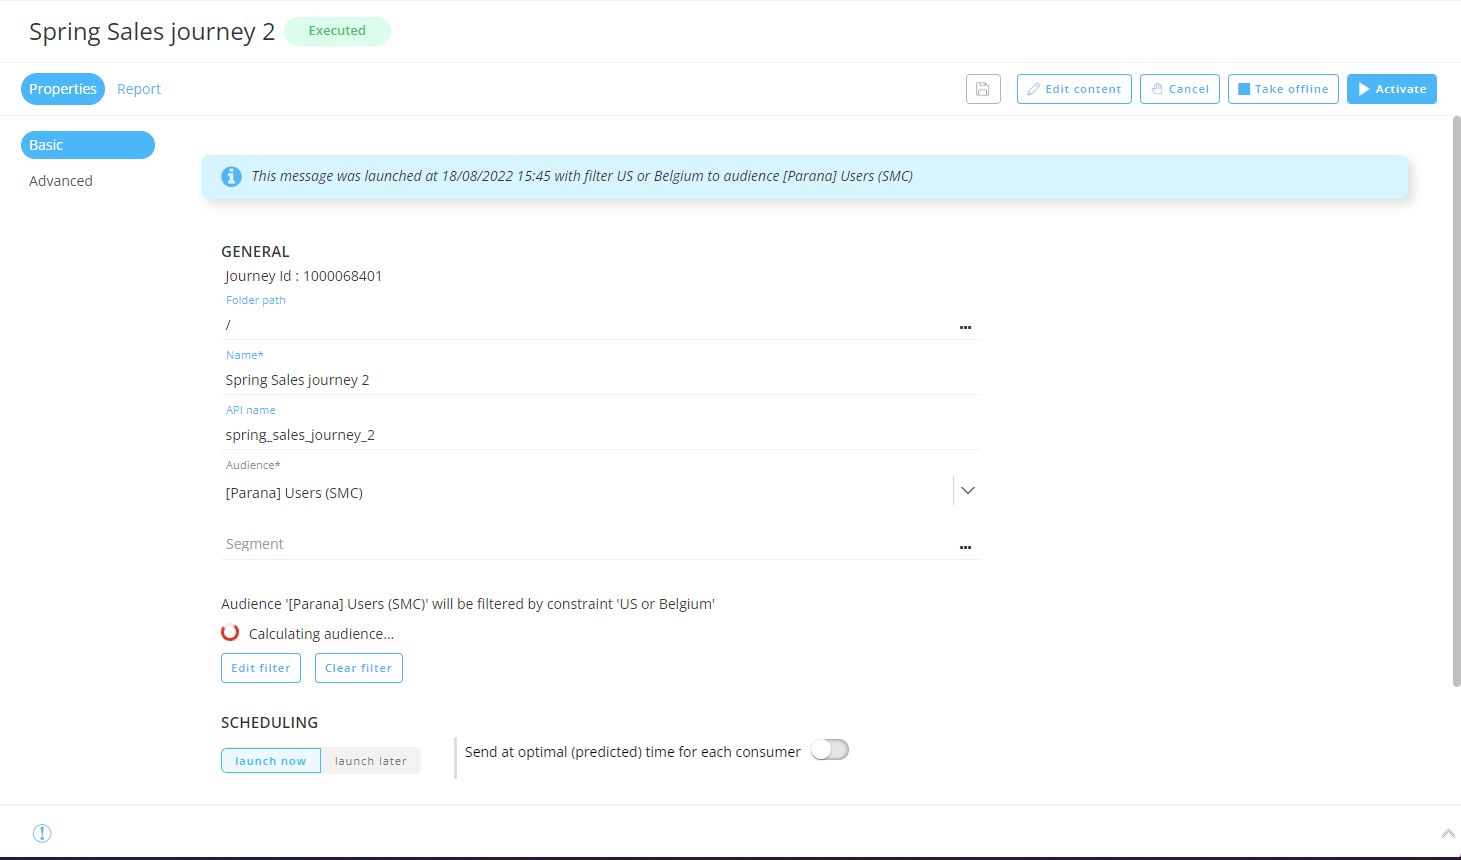
Note: The Marigold Engage page is not automatically refreshed, so you'll need to refresh your browser's page or close/re-open this journey to see the state change and launch info.
| STEPS : |
|---|
| 1. Create a new email |
| 2. Design the email content |
| 3. Add email header |
| 4. Extract text version |
| 5. Test/Preview the email |
| 6. Create a basic journey to send out the email template to contacts |
